
- Want a New Bathroom Look Without Removing Tiles?
- Why I Chose Wall Panels Over Traditional Tiles?
- What are The Importance of Proper Prep Work?
- What are the Tools and Materials I Used?
- What are Step-by-Step DIY Guide On How to Fit Bathroom Wall Panels Over Tiles?
- What are the Common Mistakes I Avoided?
- What Happens After You Fit the Panels?
- Final Thoughts: It’s Easier Than You Think
- What are the Frequently Asked Questions About How to Fit Bathroom Wall Panels Over Tiles?
Want a New Bathroom Look Without Removing Tiles?
If your bathroom tiles are looking tired but you’re not ready for a full rip-out, you’re not alone — I was in the same boat.
Instead of the time-consuming (and messy) job of removing old tiles, I decided to fit bathroom wall panels over tiles and can i really fit shower panels over existing tiles — and it turned out to be one of the easiest and most effective DIY projects I’ve ever done.
In this guide, I’ll walk you through how to fit bathroom wall panels over tiles, the tools I used, the common mistakes to avoid, and what to expect after the installation.
Whether you’re giving a small ensuite a facelift or updating a family bathroom, this approach is clean, quick and surprisingly affordable.
Why I Chose Wall Panels Over Traditional Tiles?
Before starting, I did my research — and wall panels made more sense for what I needed.
Here’s why I picked them:
- No messy tile removal required
- Grout-free surface = easier to clean
- 100% waterproof when installed correctly
- Fast DIY installation
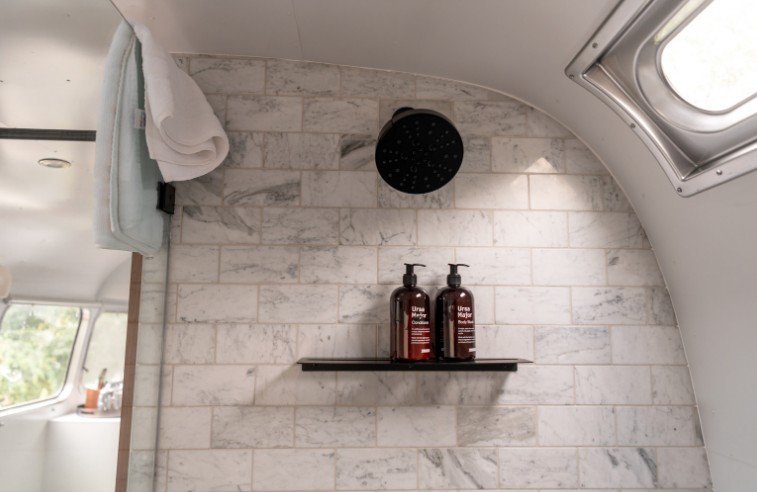
- Available in stylish tile-effect or marble-look finishes
Best of all, you can install them directly over old tiles, saving time, money and stress.
What are The Importance of Proper Prep Work?
Before you fit panels over tiles, the surface needs to be ready:
- Tiles must be securely fixed (no loose or hollow ones)
- The wall must be flat and even
- Clean and free of mould, soap scum or grease
- Dry and preferably sanded slightly to help adhesion
I used sugar soap to clean, and a fine sandpaper to roughen up the glossy tile surface. That gave my adhesive the best possible grip.
What are the Tools and Materials I Used?
Here’s everything I needed to complete the project:
- High-grab waterproof adhesive (for bathroom panels)
- Spirit level and pencil
- Fine-tooth saw or jigsaw
- Sugar soap and cloth
- Silicone sealant (anti-mould)
- Panel trims (corner, end caps, H-joiners)
- Measuring tape
- Hole saw drill bit (for pipe cut-outs)
- Safety goggles and gloves
All items were easily available from B&Q, Wickes, or Screwfix.
What are Step-by-Step DIY Guide On How to Fit Bathroom Wall Panels Over Tiles?
Step 1: Inspect and Prepare the Tiles
I checked all my tiles to make sure they were:
- Firmly attached
- Crack-free
- Not bulging or hollow
- Clean and dry
Then I washed the tiles using sugar soap, rinsed thoroughly, and left them to dry. I lightly sanded the tiles to give the surface some texture for better adhesion.
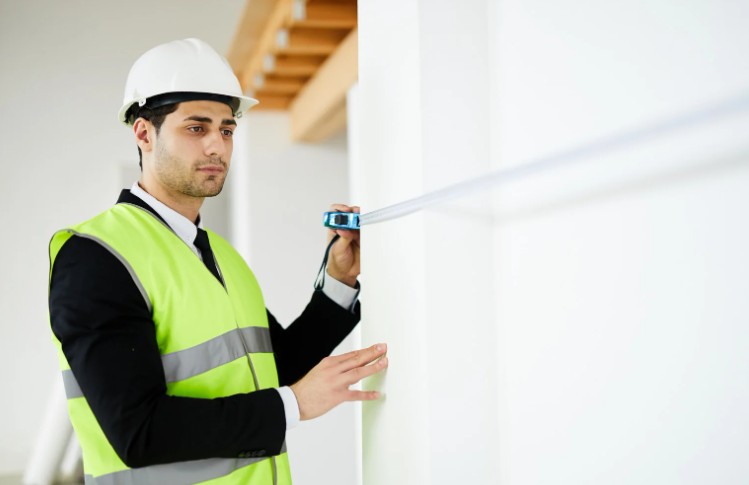
Step 2: Measure Walls and Plan the Layout
This step saved me loads of hassle later. I measured:
- The height from floor to ceiling (or bath tray)
- The width of each wall
- The position of fixtures (pipes, taps, windows)
I planned the layout on paper to decide:
- Where to start panel installation
- Where join trims would go
- How many panels to cut and where
I started from the corner and worked outward to ensure a clean, balanced finish.
Step 3: Cut the Panels to Size
Cutting was easy once I marked the measurements. I used different tools depending on the material:
| Panel Type | Tool I Used | Cutting Tips |
| PVC panels | Fine-tooth hand saw | Cut slowly to avoid tearing |
| Acrylic panels | Jigsaw or circular saw | Use masking tape to avoid scratching |
| MDF laminate | Jigsaw (slow speed) | Support edges to avoid chipping |
For holes around pipes, I used a hole saw drill bit, then smoothed the edges and sealed them later with silicone.
Step 4: Apply Adhesive
I used a high-grab waterproof adhesive (mine was panel-specific and mould-resistant).
How I applied it:
- In vertical lines, 5–10 cm apart
- Avoiding the very edge (to prevent spillage)
- With extra adhesive near panel edges for a solid seal
Don’t use general-purpose glue — bathroom-specific adhesives are essential.
Step 5: Fix the Panels in Place
I slotted the panel into the corner trim (if applicable) and then pressed it firmly onto the tiled wall, bottom to top.
- I checked the alignment with a spirit level
- Applied steady pressure for a few minutes
- Wiped away any excess adhesive immediately
I repeated this with each panel, slotting into H-join trims and continuing around the room.
Step 6: Seal the Joints and Edges
Once all panels were up, I sealed:
- Corners
- Panel joins
- Top and bottom edges
- Cut-outs around fixtures
I used sanitary-grade white silicone and a finishing tool to create neat, waterproof lines. Sealing properly is critical to prevent water getting behind the panels.
Step 7: Let It Cure and Clean Up
I waited 24 hours before using the shower or running water, giving the adhesive and silicone time to cure fully. Then I wiped down the panels — and that was it!
The final result looked sleek, felt solid, and cleaned up beautifully.
What are the Common Mistakes I Avoided?
Here are a few easy-to-make errors I dodged:
- Skipping surface prep – Always clean and sand tiles
- Using the wrong adhesive – Must be waterproof
- Not sealing edges – Water will get behind if not properly sealed
- Measuring only once – I double-checked every cut
- Forgetting expansion gaps – 2–3mm is vital for temperature changes
What Happens After You Fit the Panels?
Once installed and sealed, bathroom wall panels are incredibly low-maintenance:
- Just wipe them down with warm water — no harsh chemicals
- No grout = no mould
- Silicone edges might need replacing every few years (just like tiles)
It’s been months since I fitted mine, and the walls still look spotless. No peeling, no mould, and no regrets.
Final Thoughts: It’s Easier Than You Think
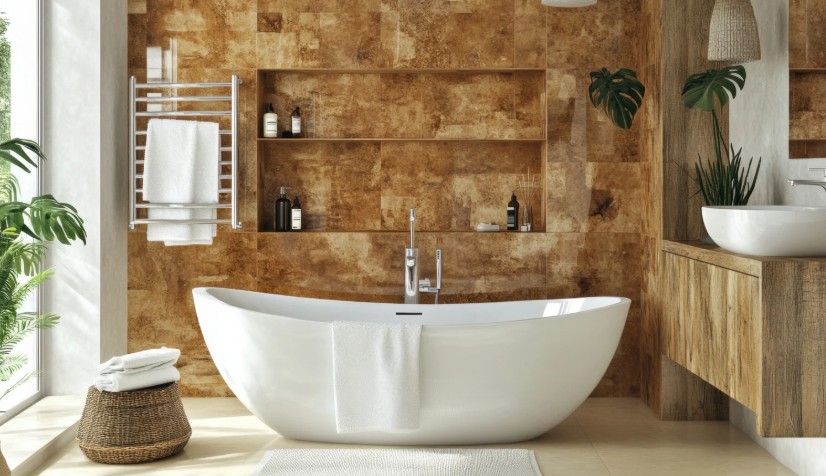
I was genuinely surprised by how quick and satisfying this project was. If you want a fast, mess-free way to modernise your bathroom — fitting wall panels over tiles is a brilliant solution.
The best part? No more grout lines, no more scrubbing — just a sleek, waterproof finish that looks great and works even better.
What are the Frequently Asked Questions About How to Fit Bathroom Wall Panels Over Tiles?
1. Can I fit bathroom wall panels over tiles in a shower?
Yes — that’s exactly what I did. Just make sure the panels are sealed all the way around.
2. Will the panels hide uneven tiles?
Only slight variations. If your tiles are very uneven or cracked, fix that first.
3. Is this really DIY-friendly?
Absolutely. I did it over a weekend with basic tools and patience.
4. Can I stick panels over mouldy tiles?
No — clean, dry and mould-free surfaces are essential for long-lasting results.

Home Diagnostics and Technical Standards Specialist at Hello Mag. She provides high-level Expertise in appliance mechanics and scientific pest management, ensuring every guide follows strict safety protocols and manufacturer standards. As a leading Authority on technical home specs, Kanimozhi audits complex data to provide homeowners with the most accurate, verified, and reliable diagnostic solutions available.
0 Comments