

When I first looked at my bumpy, uneven garden, I knew I had two choices: either call in expensive machinery or roll up my sleeves and do it myself. I chose the latter — and I haven’t looked back since.
If you’re like me, looking for a way on how to level a garden without a digger, you’re in the right place. Whether you’re planning to lay new turf, build a patio, or simply want a more usable and attractive outdoor space, this guide walks you through the process.
No need for heavy machinery — just a few tools, a bit of effort, and a DIY spirit.
How to Level a Garden Without a Digger? – Step-by-Step Guide
Levelling a garden manually may sound intimidating, but it’s a completely manageable project if broken down into clear, achievable steps. When I decided to take on the task myself, I found it was all about having the right plan, tools, and attitude. Here’s how I did it — and how you can too.
Step 1: Clear the Area
Before anything else, I started by preparing the surface:
- I removed any turf, weeds, dead plants, stones, and other debris.
- You can use a spade to lift the turf and a garden fork to uproot any deep-rooted weeds.
- If you’re planning to reuse the turf, stack it grass-side down in a corner and keep it moist.
Tip: Don’t skip this step — leftover roots and rocks will make it harder to get a smooth finish later on.
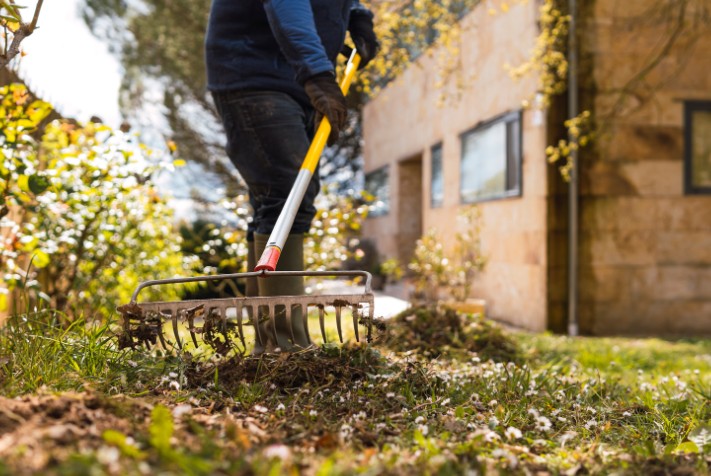
Step 2: Loosen the Soil
Once the area was cleared, I needed to break up the existing soil:
- I used a garden fork to loosen compacted ground, especially where there were high spots I planned to redistribute.
- For large areas, a manual rotavator can save time (and your back).
- The goal here is to create a workable, fluffy soil structure that can be easily moved and levelled.
This also helped improve drainage and aeration in the soil — a bonus for any plants or turf you’ll add later.
Step 3: Set Your Reference Level
This is where the real planning comes into play. I needed to know what “level” actually meant in my garden.
- I drove wooden stakes into the corners of the garden and ran string lines between them.
- I used a spirit level to check that the string was perfectly horizontal.
- Then I measured the distance between the string and the ground at various points to see where the land was uneven.
Pro Tip: If you don’t have a long spirit level, place a small one on a straight timber board to cover longer spans.
This gave me a clear visual map of the highs and lows in my garden.
Step 4: Redistribute the Soil
Now the real work begins.
- I used a shovel to move soil from the higher areas to the lower ones.
- Then I spread the soil out using a levelling rake, which has wider and flatter teeth than a standard rake.
- I worked in sections, always referring back to my string lines to stay on track.
If you’re dealing with deep dips, you’ll probably need to add topsoil. I mixed mine with compost to improve fertility and structure.

Step 5: Compact the Soil
A crucial step — and one many people skip.
- I lightly watered the soil to help it settle.
- Then, I compacted the surface manually using a tamper (a heavy, flat-bottomed tool). In areas where I didn’t have one, I simply placed a wooden board down and walked across it carefully to press the soil in.
- If you skip compacting, your garden may sink unevenly over time, especially after rain.
Alternative Tool: If you have one, a manual lawn roller is great for this — just make sure the soil isn’t too wet or too dry.
Step 6: Let the Ground Settle
This is the step that taught me patience.
- After compacting, I let the ground sit undisturbed for at least 5–7 days.
- I lightly watered the area once or twice to simulate rainfall, helping the soil compact naturally and expose any new low spots.
Once settled, I made small adjustments by topping up any sunken areas with a fine layer of topsoil and gently raking it level.
Step 7: Final Levelling and Raking
Now, with most of the heavy work done:
- I gave the whole area a final rake, working in opposite directions to break up clumps and get a fine, even texture.
- I double-checked the level against the string lines.
- If I was laying turf, I ensured the surface was flat but slightly compacted to support root growth.
At this point, the garden was flat, firm, and ready for whatever came next — grass, plants, patio stones, or a seating area.
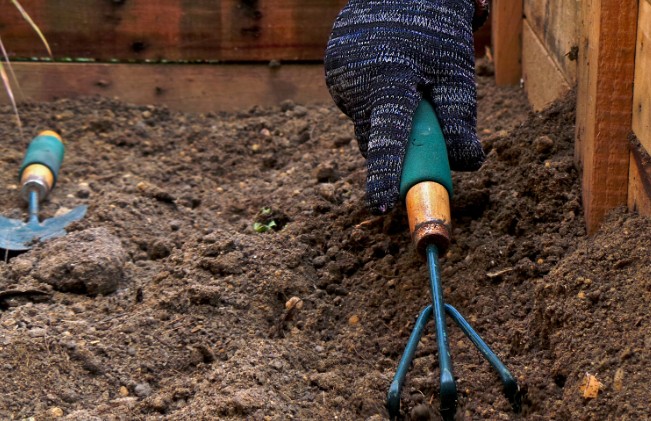
Quick Recap Checklist
Here’s a summarised checklist you can follow:
- Remove turf, weeds, and debris
- Break up and loosen compacted soil
- Set string lines and reference levels
- Shift soil to flatten highs and fill lows
- Add topsoil and compost as needed
- Compact the ground manually
- Let the soil settle
- Make final rakes and tweak
Conclusion
Leveling a garden without a digger might sound like a challenge, but with the right tools and a little determination, it’s completely doable — I did it, and you can too.
Here’s what worked for me:
- Start small and stay patient.
- Use manual garden levelling techniques.
- Compact and reassess at each step.
- Don’t rush — let the soil settle naturally.
Whether you’re planning a new lawn, a patio, or just want to enjoy a smooth, safe outdoor space — take the time to level your garden right. Trust me, the satisfaction is worth every bit of effort.
FAQ: Common Questions About How To Level a garden Without a Digger
1. Can I really level a garden without machinery?
Yes — I did it myself using only basic hand tools. It takes time and elbow grease but saves a lot of money.
2. How long does it take?
For a small garden, I completed mine over two weekends. Larger gardens may take longer, especially if you’re working alone.
3. Do I need to remove all the turf?
If your garden is heavily uneven, yes. Removing the turf gives you a clean base to level accurately.
4. Can I reuse soil I dig out?
Absolutely! I reused most of my existing soil by mixing it with fresh topsoil and compost to improve structure.
5. What if the garden slopes?
It’s okay to maintain a slight slope for drainage, just ensure it’s even and deliberate — usually a 1:80 gradient away from the house is ideal.
6. Do I need planning permission?
Not usually, unless you’re significantly changing the elevation near property boundaries. For peace of mind, check with your local council.

Home Diagnostics and Technical Standards Specialist at Hello Mag. She provides high-level Expertise in appliance mechanics and scientific pest management, ensuring every guide follows strict safety protocols and manufacturer standards. As a leading Authority on technical home specs, Kanimozhi audits complex data to provide homeowners with the most accurate, verified, and reliable diagnostic solutions available.
0 Comments