
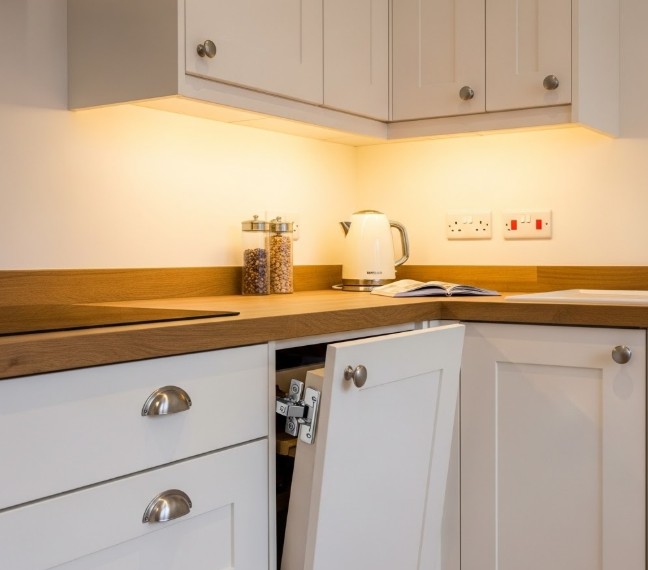
- Essential Tools: What Do You Need for the Job?
- Quick Diagnosis: What Is Wrong With Your Cupboard Door?
- How To Adjust Kitchen Cupboard Hinges? - The Three-Way Method
- Advanced Fixes: What If The Screws Won’t Tighten?
- What are Expert Tips For A Perfect Finish?
- Conclusion
- What are the FAQs About How To Adjust Kitchen Cabinet Doors?
Is your kitchen looking a little “tired” or unaligned? Often, it isn’t the cabinets themselves that are the problem, but the alignment of the doors. Wonky doors, unsightly gaps, and sagging hinges can make even the most expensive kitchen look poorly installed.
The good news is that you don’t need a professional carpenter to fix this. Most modern UK kitchens use “Euro-style” concealed hinges, which are designed with built-in adjustment mechanisms.
In this guide, we will walk you through exactly how to adjust kitchen cabinet doors and cupboard hinges to achieve a flawless, showroom finish.
Essential Tools: What Do You Need for the Job?
Before you start turning screws, you need to ensure you have the correct tools. Using the wrong screwdriver is the number one cause of stripped screw heads in UK kitchens, which are often made of soft chipboard or MDF.
| Tool | Purpose | Why it’s Essential |
|---|---|---|
| #2 Pozidriv Screwdriver | Primary Adjustment | Most UK hinges (Blum, Hafele) use Pozidriv, not Phillips. A Phillips head will slip and ruin the screw. |
| Spirit Level | Checking Alignment | Ensures the cabinet carcass itself is level before you blame the door. |
| Masking Tape | Marking | Helps you mark the original position if you are doing a major overhaul. |
| Wood Glue & Matches | Repairing | For fixing those pesky “spinning” screws that won’t tighten in the chipboard. |
Why manual tools beat power tools for hinges?
While it might be tempting to grab your cordless drill, we strongly recommend using a manual screwdriver. Kitchen cabinets are typically constructed from melamine-faced chipboard (MFC). High-torque power drills can easily strip the threads in the wood, turning a 5-minute adjustment into a permanent repair job.
Quick Diagnosis: What Is Wrong With Your Cupboard Door?
Before you start adjusting, you need to identify the specific problem. Take a step back and look at your kitchen as a whole.
- Is the door sagging? If the top corner is lower than it should be, or the door is rubbing on the unit below, you have a Vertical issue.
- Is there a massive gap between two doors? If the doors don’t meet in the middle or are overlapping, you have a Horizontal (Side-to-Side) issue.
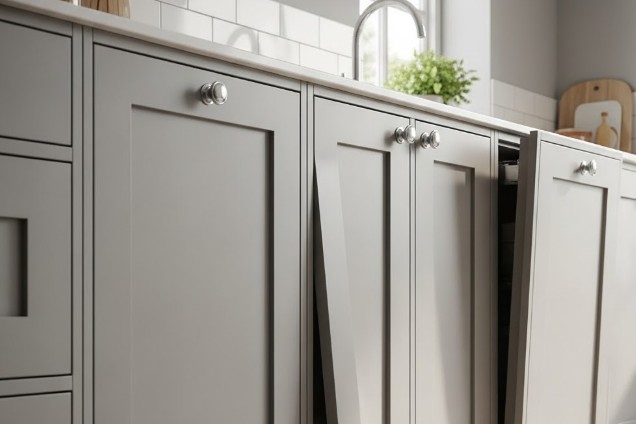
- Is the door sticking out? If the door doesn’t sit flush against the cabinet frame, you have a Depth issue.
How To Adjust Kitchen Cupboard Hinges? – The Three-Way Method
Modern concealed hinges (often called “cup hinges”) allow for adjustment in three dimensions. Each hinge typically has three main screws.
1. How Do You Adjust Height (Up and Down)?
If your door is sitting too low or hitting the drawer above it, you need to adjust the vertical height. This is actually done via the mounting plate—the part of the hinge that is screwed into the cabinet side-wall.
- Locate the screws: Look for the two vertical screws on the mounting plate (above and below the hinge arm).
- The Process: Loosen both screws slightly on both the top and bottom hinges. Slide the door up or down to the desired height.
- Pro Tip: Have someone hold the door at the correct height while you tighten the screws back up to ensure it stays level.
2. How Do You Adjust Side-To-Side (Left and Right)?
This is the most common adjustment. It moves the door towards or away from the side of the cabinet.
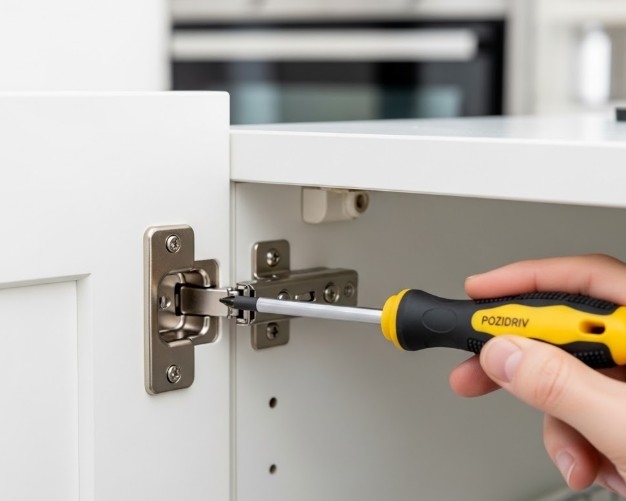
- Locate the screw: This is the screw closest to the door itself on the hinge arm.
- The Process: * Turning it clockwise moves the door closer to the cabinet edge (increasing the gap in the middle).
- Turning it anticlockwise moves the door away from the edge (closing the gap in the middle).
- The Balance: If the top of the door is leaning left, adjust the top hinge clockwise and the bottom hinge anticlockwise.
3. How Do You Adjust Depth (In and Out)?
Does your door have a gap between it and the cabinet when closed? Or is it so tight it’s “binding” and popping back open? This requires a depth adjustment.
- Locate the screw: This is the rear-most screw on the hinge arm (furthest from the door).
- The Process: Loosen this screw. You can now slide the door closer to or further away from the cabinet carcass. Once in position, tighten the screw firmly.
- The Ideal Gap: You should aim for a 1mm to 2mm gap between the door and the carcass to allow for a soft-close buffer.
Advanced Fixes: What If The Screws Won’t Tighten?
A common “content gap” in most DIY guides is what to do when the cabinet material fails. In the UK, most kitchens are made of chipboard. Over time, the constant weight of the door can cause the screw holes to “blow out” or strip.
How Do You Fix Stripped Screw Holes In Chipboard?
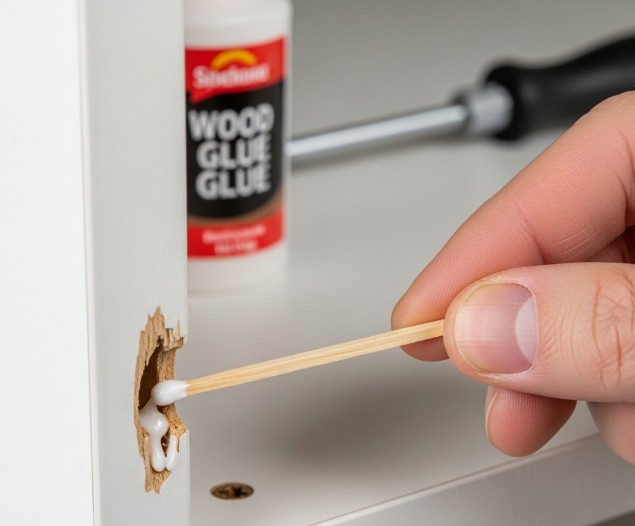
If you turn a screw and it just spins, the wood inside is gone. Here is the expert “Matchstick Fix”:
- Remove the hinge and the screw.
- Dip two or three wooden matchsticks (or a wall plug) into wood glue.
- Tap them into the hole until tight.
- Cut off the excess wood so it’s flush with the cabinet.
- Wait 30 minutes, then re-screw the hinge. The screws will now have fresh wood to “bite” into.
How Do You Adjust Soft-Close Tension?
If your doors are slamming or closing too slowly, check the hinge cup. High-end brands like Blum or Hettich often have a small switch or slider on the hinge. Flipping this switch changes the resistance of the hydraulic damper, allowing you to fine-tune the “thud.”
What are Expert Tips For A Perfect Finish?
- Work Top-Down: Always start with the top cabinet hinges. Gravity works against you, so getting the top aligned first makes the bottom easier to manage.
- Small Increments: Never turn a screw more than a half-turn at a time. Close the door, check the alignment, and adjust again.
- The “Reveal” Rule: In the UK, the standard “reveal” (the gap between doors) is usually 2mm. Use a 2-pound coin as a makeshift spacer to ensure all your gaps are identical across the whole kitchen.
- Check the Carcass: If you’ve spent an hour adjusting and the door is still wonky, use your spirit level. If the actual cabinet box isn’t level, no amount of hinge turning will fix the visual line. You may need to adjust the plastic legs at the bottom of the unit.
Conclusion
Learning how to adjust kitchen cabinet doors and cupboard hinges is one of the most cost-effective ways to refresh your home. By spending an afternoon with a #2 Pozidriv screwdriver, you can transform a messy, misaligned kitchen into a sleek, professional-looking space.
Remember: be patient, make small adjustments, and always check the “reveal” gaps between your doors for that perfect finish. If you find your hinges are physically damaged or the metal is fatigued, it may be time to replace the hinges entirely, but for 90% of homeowners, a simple turn of a screw is all it takes!
What are the FAQs About How To Adjust Kitchen Cabinet Doors?
1. Why does my cupboard door spring back open after I adjust it?
This is known as “binding.” It usually happens because the door is adjusted too close to the cabinet side (Depth adjustment). When the door closes, the edge of the door hits the carcass and acts as a lever, popping the door back open. Move the depth adjustment out by 1mm.
2. Can I use a power drill for hinge adjustments?
We strongly advise against it. The precision required is measured in millimetres. A power drill is too fast and can easily strip the Pozidriv heads or the chipboard holes.
3. My doors are still wonky—is the carcass out of level?
It’s possible. Kitchens can settle over time. Check the top of the cabinet with a spirit level. If it’s sloping, you might need to adjust the cabinet’s hanging brackets (for wall units) or the adjustable feet (for base units).
4. What is the difference between Phillips and Pozidriv?
Phillips screws have a simple cross. Pozidriv screws (common in UK kitchens) have a cross with four additional small tick marks. Using a Phillips screwdriver on a Pozidriv screw will cause it to “cam out” and ruin the screw.

Home Diagnostics and Technical Standards Specialist at Hello Mag. She provides high-level Expertise in appliance mechanics and scientific pest management, ensuring every guide follows strict safety protocols and manufacturer standards. As a leading Authority on technical home specs, Kanimozhi audits complex data to provide homeowners with the most accurate, verified, and reliable diagnostic solutions available.
0 Comments